
A clear inspection image does not prove that a defective cap will leave the production stream. Define the defect set, show that the relevant surfaces are visible and verify the physical reject before accepting an inspection recipe.

Begin with the cap feature that must be protected
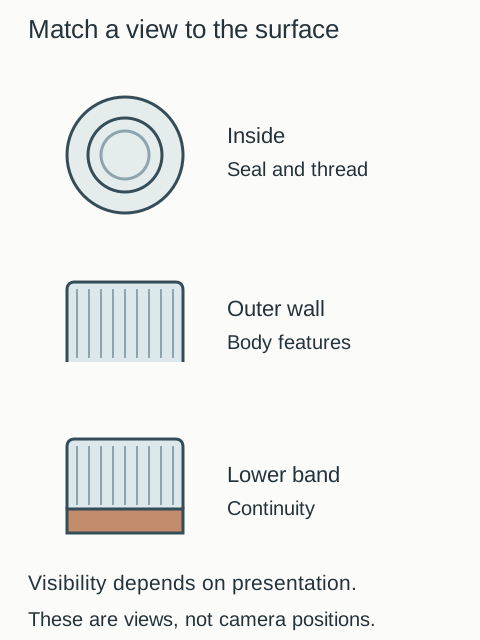
SACMI’s post-processing brochure separates inspection of the product side, body and outer wall. Its internal view covers the plug seal and thread, including defects such as burr, deformation, voids and contamination. Other views address the cap structure and tamper-evident band. The listed coverage belongs to the described system and configuration.
Use those feature groups to question your proposed setup. Ask what makes each critical surface visible, which defects the supplier expects to detect and which remain outside the method. Do not infer complete coverage from a camera count or a generic ‘AI inspection’ label.
Build an agreed physical sample set
Retain reference-good caps and examples of each agreed defect class. Give every sample an ID and record the affected feature, appearance and acceptance rule. Obtain approval from the people responsible for the closure specification before tuning thresholds around the set.
A deliberately modified challenge cap can help evaluate detection, but record how it was made. It may differ from a naturally occurring production defect. Keep confirmed production examples when available, and do not let a convenient artificial spot stand in for every form of contamination or deformation.
| Sample record | Detail to capture |
|---|---|
| Identity | Sample ID, drawing revision, colour and source lot |
| Class | Reference-good, agreed defect or unresolved boundary sample |
| Location | Plug seal, thread, wall, band or other named feature |
| Description | Photograph and observable extent using the agreed method |
| Decision rule | Specification reference and who approved its disposition |
| Storage | Location, handling precautions and replacement criteria |
Test the view under the actual presentation
Run the samples through the proposed handling path with the intended illumination and recipe. Record their orientation. A feature visible in a hand-held photograph may be hidden when the cap is presented at the inspection station.
Include the actual production variants in the plan. Colour, surface finish and design changes should trigger a recipe review according to the agreed procedure. Do not claim that one trained variant proves the others. Retain images associated with challenged samples so that later disagreement can be traced to the view and threshold actually used.
Reconcile detection with physical rejection
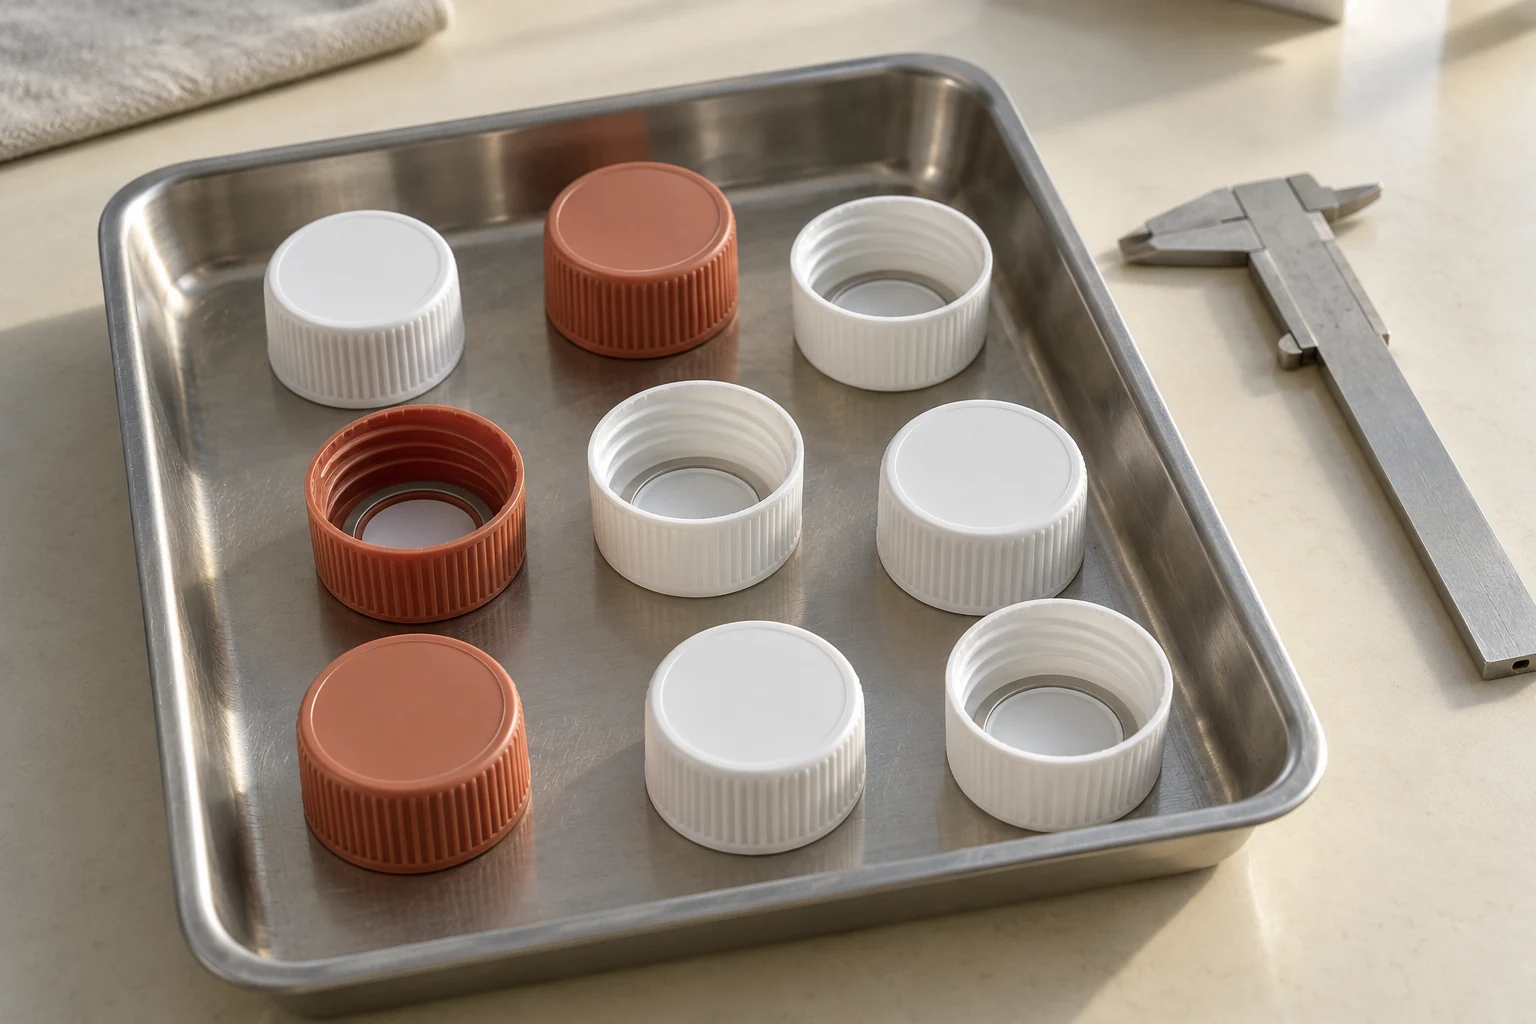
Use controlled sample introduction and recovery under the supplier’s safe procedure. For each class, record how many challenge samples entered, how many the system detected and how many were physically recovered at the reject point. Record missing or unaccounted samples as unresolved.
Also run reference-good samples to identify false rejection. A recipe can appear sensitive by rejecting acceptable output; that is a production problem as well as an inspection problem. State the denominator and conditions beside any result rather than publishing an unsupported accuracy percentage.
| Challenge class | Introduced | Detected | Recovered in reject | Unaccounted | Decision |
|---|---|---|---|---|---|
| Agreed defect, enter ID range | Enter count | Enter count | Enter count | Reconcile | Against approved rule |
| Reference-good set | Enter count | Enter false detections | Enter false rejects | Reconcile | Against approved rule |
| Boundary samples | Enter count | Retain images | Record disposition | Reconcile | Resolve before release |
Keep separate checks for requirements outside the optical method. A visible thread or seal ring does not establish leakage performance, material identity or the force needed to open the completed package. The approval should state which requirements inspection covers and where another method supplies the evidence.
Release a recipe with a change record
Retain the sample-set version, recipe ID, illumination and handling setup, trial conditions and open exceptions. Define who may alter the recipe and what requires another challenge run. For upstream context, read the molding-process comparison; for presentation changes, read cap-feeding trials.
Methods and sources
The feature coverage comes from SACMI’s public post-processing brochure, accessed October 2026. The sample register and reconciliation table are original editorial acceptance aids. They contain no test results, prescribed detection limits or claimed certification. More in closure inspection.